When termites decide to make our homes their dining grounds, the aftermath isn’t just about superficial blemishes. It’s about the hidden weakening of our foundations and the compromise of our cherished spaces.
Repairing termite damage isn’t just a task; it’s restoring your living spaces and sense of security.
This blog serves as your companion through the labyrinth of termite damage repair—an insightful guide that walks you through the meticulous steps needed to mend the damage and reclaim the resilience of your home.
From investigating the damage’s extent to crafting a rejuvenation plan, we equip you with the knowledge to address the aftermath and prevent further infestations.
While proof. is happy to be your partner in pest control and even provide tips on home repair, we highly recommend turning to a home improvement specialist for extensive damage to your home’s foundation or anything you can’t safely accomplish alone.
Happy crafting!
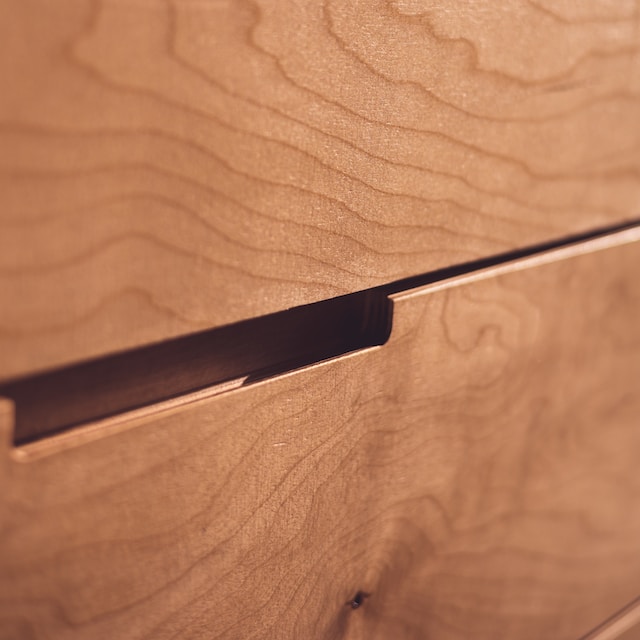
Repair Termite Damage to Wooden Furniture
Repairing termite damage in wooden furniture indoors is a comprehensive process that requires careful assessment, targeted removal, and meticulous restoration techniques. To restore your cherished furniture pieces to their former glory, follow these detailed steps:
1. Thorough Assessment:
Begin by conducting a thorough examination of the termite-damaged furniture. Look for visible signs of termite activity, including hollowed-out areas, tiny exit holes, weakened wood, and the presence of termite frass. Take note of the extent of the damage to determine the scope of repairs needed.
2. Isolation and Cleaning:
To prevent the spread of termites, carefully move the infested furniture away from non-infested items. Vacuum or gently brush away any termite frass and debris from the damaged areas. Dispose of the vacuum bag or debris in a sealed plastic bag to minimize the risk of further infestation.
3. Precise Removal of Damaged Wood:
Now, let’s begin with the first step of termite damage repair. Carefully remove the termite-damaged wood using a chisel, wood scraper, or sandpaper. Tap the wood with a hammer to identify hollow or weakened sections. Take your time during this process to ensure the complete removal of compromised wood while maintaining the furniture’s structural integrity.
4. Expert Filling and Patching:
Once the damaged wood is removed, fill the voids with a high-quality wood filler or epoxy resin for the next step of your termite damage repair. Follow the manufacturer’s instructions for proper mixing and application. Ensure the filler is evenly spread and flush with the surrounding wood, creating a seamless and natural appearance.
5. Skillful Sanding and Smoothing:
After thoroughly drying the filler, gently use fine-grit sandpaper to sand the patched area. Sand along the direction of the wood grain to achieve a smooth and consistent surface. This step is crucial for seamlessly blending the repaired area with the rest of the furniture.
6. Masterful Matching of Finish and Stain:
If your furniture features a stained or painted finish, accurately match the color and finish of the repaired section to the existing finish. Conduct a color test on an inconspicuous area before applying it to the repaired spot. Utilize a small brush for an even application of stain or paint, allowing ample drying time.
7. Strategic Application of Sealant:
Ready to close out your furniture termite damage repair? Apply a clear sealant or protective finish to the repaired area to enhance its durability and longevity. This protective layer prevents moisture from seeping into the wood and safeguards it against future damage. Follow the product’s instructions for optimal application. Take a look at this guide to learn more!
8. Comprehensive Preventive Measures:
Consider treating the repaired furniture with a termite-resistant product to prevent future damage. Additionally, maintain a dry and well-ventilated indoor environment, as termites thrive in damp conditions. Regularly inspect your furniture for signs of reinfestation and take prompt action if necessary.
By meticulously following these steps, you’ll restore your termite-damaged furniture and fortify it against future termite threats.
Should the extent of the damage or the complexity of the restoration exceed your expertise, it’s advisable to seek professional assistance or consult a skilled furniture restoration specialist.
Termite Damage Repair for Interior Structures
Repairing structural wood in your house that has fallen victim to termite damage is a critical undertaking to restore the safety and integrity of your home. This comprehensive guide outlines the step-by-step process to effectively address termite-damaged structural wood, ensuring your living space remains secure for years.
1. Thorough Initial Assessment:
Begin your repair journey by meticulously assessing the termite damage. Thoroughly inspect the affected areas, encompassing beams, joists, framing, and other structural components. This initial evaluation is crucial to determine the extent of repairs needed and devise an appropriate action plan.
2. Prioritize Safety Precautions:
While your home is important, your safety matters more. Before repairing, ensure the affected area is stable and secure. Equip yourself with suitable safety gear such as gloves, eye protection, and dust masks to safeguard against potential hazards that might arise during the repair process. Here’s an overview of the safety gear you should use when making DIY repairs.
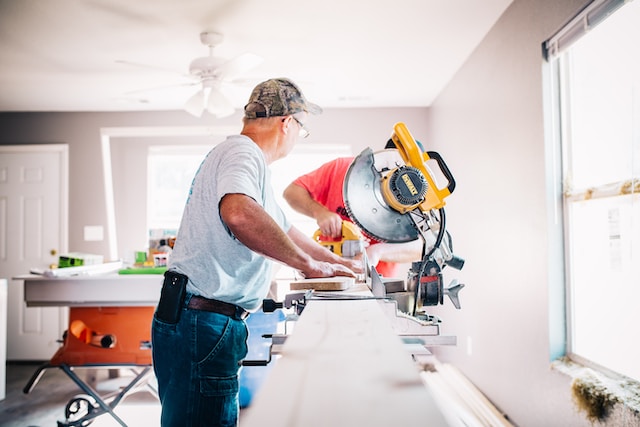
3. Methodical Removal of Damaged Wood:
Proceed to carefully remove the termite-damaged wood using specialized tools like a chisel, reciprocating saw, or circular saw. Take utmost care to execute this step precisely, avoiding any additional structural damage that may arise during removal. Contact a professional immediately for large areas or anything that may impact your home’s structural integrity.
4. Expert Reinforcement and Replacement:
Choosing the right reinforcements is key when focusing on termite damage repair for interior structures. Opt for new, untreated wood that precisely matches the original dimensions. Elevate the strength of the repaired area by considering additional reinforcements like steel brackets or sister joists.
5. Professional Insights and Assistance:
When dealing with extensive damage or components affecting the load-bearing nature of your structure, it’s prudent to seek guidance from a qualified structural engineer or reputable contractor. Their expertise ensures that your repairs adhere to building codes and align with stringent safety standards.
6. Implementation of Termite Prevention Measures:
Mitigate the root cause of the termite infestation by proactively adopting preventative measures. This may encompass the application of termite-resistant coatings, the strategic installation of physical barriers, or the use of well-considered chemical treatments to discourage future termite activity.
7. Embrace Regular Inspection Regimens:
Even after the repairs are complete, your commitment to vigilance remains pivotal. Instituting a schedule of regular inspections is a proactive measure to monitor the structural wood for any resurgence of termite activity. Swift detection can thwart potential infestations and curtail the risk of further damage.
8. Seek Professional Consultation and Expertise:
If uncertainties linger about the scope of damage or the optimal repair techniques, tap into the reservoir of knowledge offered by professional pest control companies or licensed contractors. Their insights can provide the peace of mind that your repairs are conducted expertly and effectively.
Remember that structural wood repair necessitates precision and finesse, particularly when combating termite damage. If doubts persist or the damage is extensive, consider contacting professionals well-versed in termite damage repair.
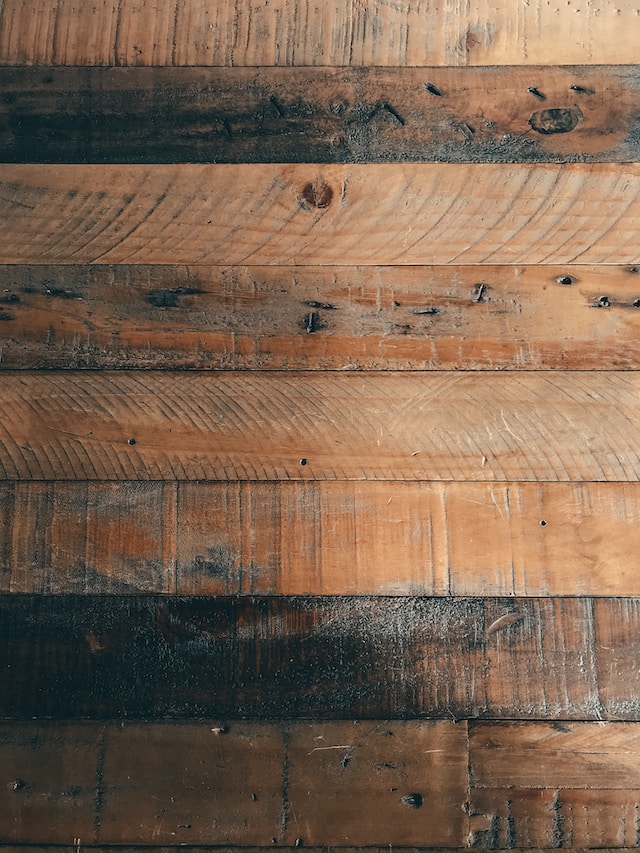
Termite Damage Repair for Floors and Walls
Renewing walls and flooring that termites have damaged requires a careful, multi-step process to regain both structural integrity and the aesthetic charm of your living spaces.
We’ll give you a quick overview of the steps you could take to repair termite-damaged walls and flooring. But remember, contact a knowledgeable professional for any serious repairs or damages.
Repairing Termite-Damaged Walls
- Comprehensive Assessment: Commence the repair journey with a thorough assessment of the termite damage. Scrutinize the affected areas, closely inspecting for telltale signs such as hollow sections, paint or wallpaper abnormalities, and areas of structural weakness.
- Remove Damaged Material: Utilize suitable tools like a utility knife or a chisel to extract the compromised sections, ensuring you reach the foundation of healthy wood or sturdy studs.
- Structural Examination and Reinforcement: Identify any lingering termite activity or concealed damage. Swiftly replace any compromised wood to fortify the wall’s stability and preempt any potential vulnerabilities.
- Replace Drywall or Plaster: Cut replacement drywall or plaster that seamlessly matches the removed sections. Anchor the replacement securely using screws or nails and apply joint compound or plaster to establish a seamlessly integrated surface.
- Seamless Sanding and Finishing: Using sandpaper, smooth the repaired area, seamlessly blending it with the surrounding surfaces. After the compound or plaster dries, start priming and painting to restore the wall’s original appearance.
Termite Damage Repair for Flooring:
- Examine with Purpose: Look for buckling, warping, or a disconcerting hollow noise when applying pressure. Identifying the scope of repair needed is essential.
- Delicate Extraction of Damaged Flooring: Employ a gentle touch as you carefully detach the termite-affected flooring using a pry bar or floor scraper. Prioritize minimizing further harm to the subfloor during this phase.
- Subfloor Scrutiny: Extend your scrutiny to the subfloor, surveying it for any vestiges of termite activity or resulting damage. Dedicate effort to replace any subfloor sections exhibiting signs of compromise, ensuring a level and structurally sound foundation.
- Precise Placement of New Flooring: Cut the replacement flooring, ensuring its dimensions align seamlessly with the removed sections. Employ adhesive, nails, or tongue-and-groove techniques based on the flooring type for secure installation.
- Sanding and Finishing: Termite damage repair doesn’t end after you place new flooring. After sanding down the floor, consider staining or finishing the repaired section to blend seamlessly with the rest of the flooring.
proof. Can Eliminate Termites in Your Home!
When you choose proof. Pest Control, you’re not just getting a quick fix. You’re getting a team that’s all in – dedicated to evicting termites and letting you reclaim peace of mind. We’re not just eliminating the problem; we’re putting in the groundwork to prevent future termite turmoil.
Every home is a unique battleground, and our experts work side by side with you to create a tailor-made plan that fits your preferences and budget. Contact us today to fix your termite problems!